March 14, 2013
wallpaperless
Posted by
Megan
There are many retro features about our house that we love. The wallpaper is not one of those features.
The nursery-to-be came with a wall of pink and mauve and orange flowers (that's a close-up on the left). During our first two years in the house, we rarely went into the room. But once we started nesting mode, it was time for the wallpaper to go.
Work began last Friday, when my mom generously offered to help. Peeling off the wallpaper was was slow, but oddly satisfying.
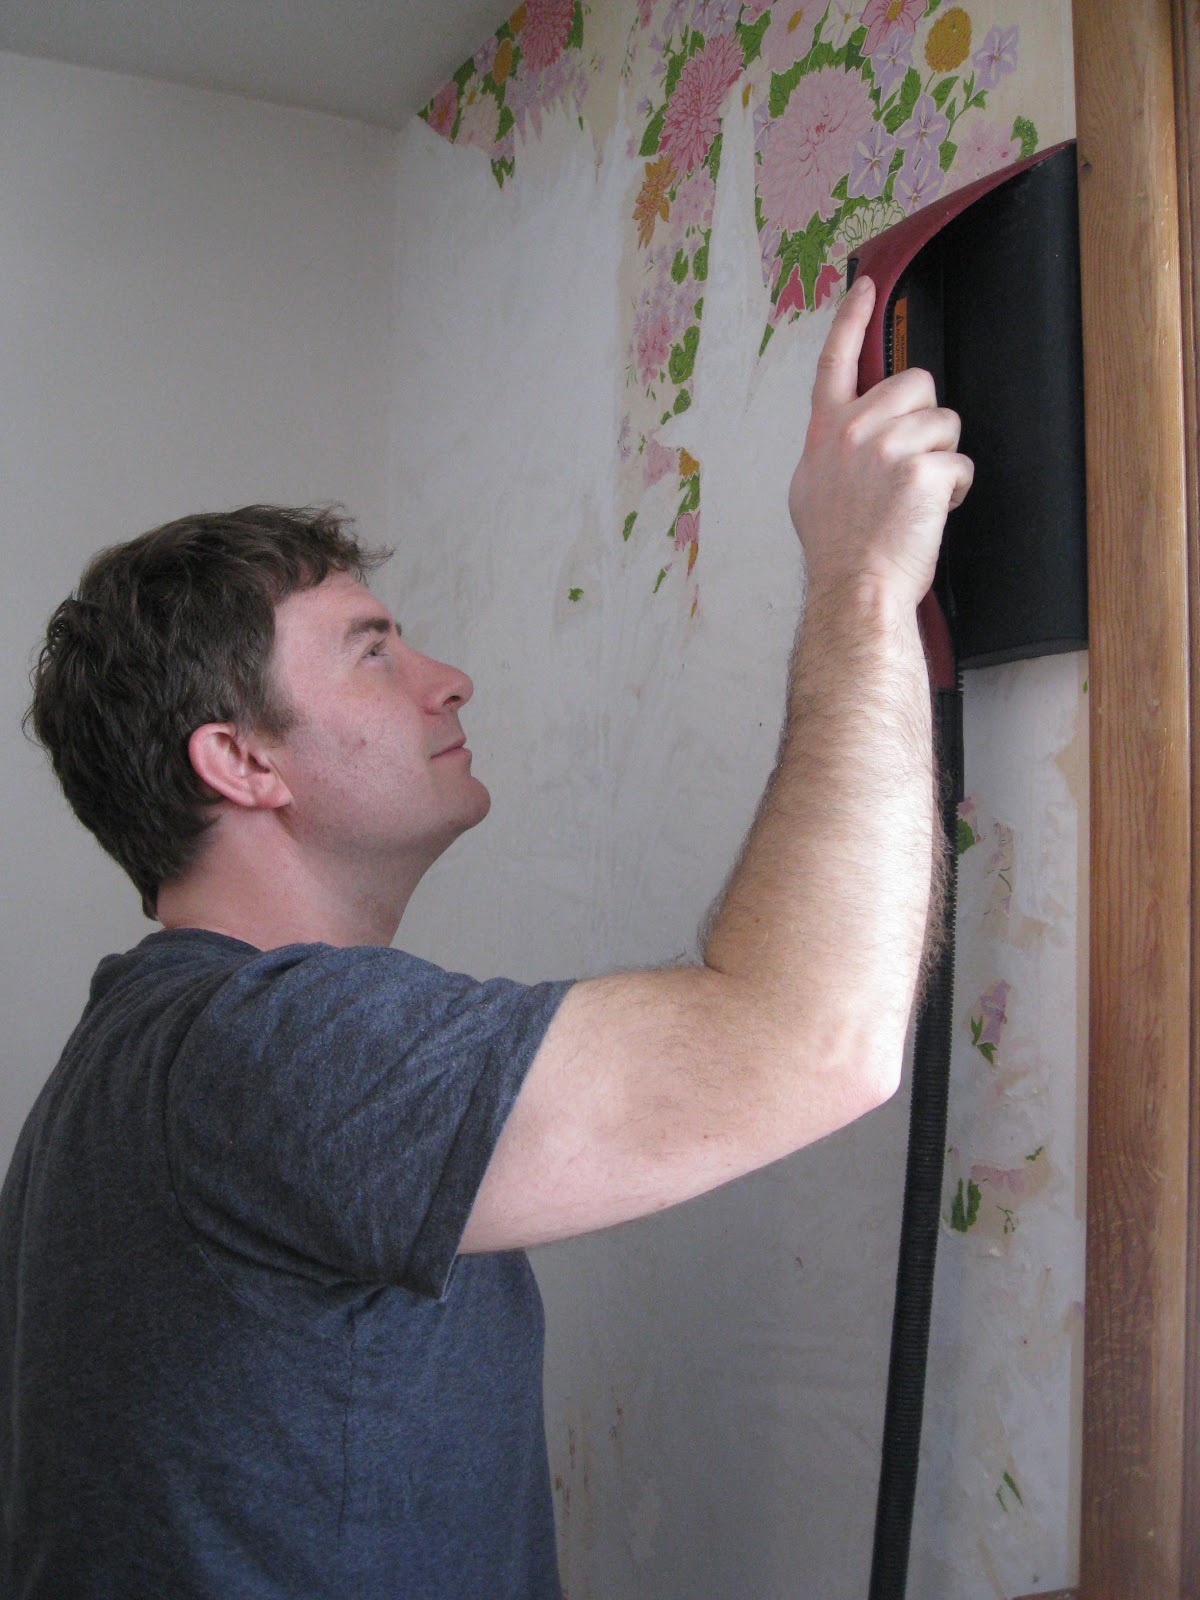
On Sunday, Aaron and I tried a new approach. Did you know that you can rent tools by the hour? For 21 bucks, this wallpaper steamer was ours for four hours.
It came with a scoring tool that made tiny holes in the paper. (Dork alert! The scoring tool was so loud, it required the use of ear protection.)
Once the paper had been scored, we were ready to steam and strip. We've done a lot of stripping in this house (see here and here), and this was by far the easiest.
With 45 minutes to spare on the steamer rental, the nursery was officially wallpaperless . . .
That left us lots of time to go across the hall and remove the bathroom wallpaper. And while it's easy to understand how we left the wallpaper in a room we never went into, it's harder to explain how for two years we lived with lilypads in a room we use several times every day.
In less than half an hour, the lilypads were gone.
It's amazing what a difference it makes. On one hand, the room seems a bit boring. But until the lilypads came down, I never realized that every time I went into the bathroom, it felt like I was visiting someone else's house. Someone's grandma's house.
Of course, taking down the wallpaper is only the first step - we still have to patch and sand and paint. But with each project we finish, this house feels a little bit more like home.
February 09, 2013
house-a-versary!
Posted by
Megan
Two years ago today we got the keys to our house. It's a bit daunting to think of all the things we still have to do. But when we look back at the photos from Day 1, it's amazing to see how far we've come. The walls and the toilets are white (instead of blue, green and pink). The outside of the house is gray (instead of white). Yes, all the wallpaper is still there. But the carpet is gone.
Now we have incentive to get a few more things done . . .there are 15 weekends until our baby is due to arrive. And we love deadlines! Family coming over for dinner? Put up baseboards. Hosting a baby shower? Install new toilets.
We've identified a few projects we'd like to finish in the next few months:
- set up the nursery - remove some retrotastic wallpaper, paint, buy a crib
- update the main bathroom - remove more retrostastic wallpaper, paint, replace flooring and lighting
- patch and paint the walls around the (not so) new windows
- organize the basement (seriously, the lowest level of our house looks like the "before" in an episode of Hoarders)
- put up proper window coverings in the living room and dining room
- build a deck (just kidding! that's merely wishful thinking)
December 23, 2012
happy holidays (winter edition)
Posted by
Megan
We are getting ready to celebrate our second Christmas at 760. And it will be the last Christmas for just the two of us. The tiny stocking in the photo above represents the tiny person we'll be welcoming into our family in May . . . we're having a baby!
August 06, 2012
June 25, 2012
les toilettes, anniversary edition
Posted by
Megan
That was us, on June 25, 2010. See how happy we look?
Two years later we spent the evening buying plumbing supplies and finishing our toilet installation.
Once we had a longer water supply hose, the upstairs toilet was ready. I must confess, part of me will miss the pink toilet - it was very pretty. But we still have a pink vanity and a pink bathtub.
Downstairs, the glue had dried on the tank insulation, so we turned on the water. The toilet started leaking right away.
We tried tightening bolts, but realized that the styrofoam from the insulation was preventing everything from sealing properly. An exacto knife to cut out a bit of the styrofoam solved the problem. The results were definitely worth it - the green toilet will not be missed.
And that is the story of how we spent our second wedding anniversary.
June 24, 2012
les toilettes, part deux
Posted by
Megan
One of the most retro features of our house was the rainbow-hued toilets.
Back in March we purchased two new white toilets. But we were in no particular rush to get them installed, and over time the boxed toilets became more like furniture.
However, we finally stopped procrastinating and started the installation process. I'm hosting a baby shower for my sister on Thursday, and along with cupcakes, canapes and champagne, I want my guests to enjoy pristine white toilets.
Thank goodness for the internet, which is full of detailed tutorials. We definitely aren't experts (which will become evident in a minute), but here are some of the steps involved in replacing a toilet.
Step 1 - disconnect the water supply, and flush
Step 2 - empty the remaining water
Step 3 - remove the bolts, then gently rock the toilet to break the seal
Step 4 - remove the toilet, then clean up the gross mess left underneath
Step 6 - go to Home Depot
(Seriously. Why is it that every project involves a trip to the hardware store? In this case it was to pick up new wax seal kits.)
Step 6 - take the old toilets to the dump
Step 7 - take a break
Back in March we purchased two new white toilets. But we were in no particular rush to get them installed, and over time the boxed toilets became more like furniture.
Kohler magazine rack and iPhone charging station |
However, we finally stopped procrastinating and started the installation process. I'm hosting a baby shower for my sister on Thursday, and along with cupcakes, canapes and champagne, I want my guests to enjoy pristine white toilets.
Thank goodness for the internet, which is full of detailed tutorials. We definitely aren't experts (which will become evident in a minute), but here are some of the steps involved in replacing a toilet.
Step 1 - disconnect the water supply, and flush
Step 2 - empty the remaining water
Step 3 - remove the bolts, then gently rock the toilet to break the seal
Step 4 - remove the toilet, then clean up the gross mess left underneath
Step 6 - go to Home Depot
(Seriously. Why is it that every project involves a trip to the hardware store? In this case it was to pick up new wax seal kits.)
Step 6 - take the old toilets to the dump
Step 7 - take a break
At this point we stopped documenting the process, because it was getting late and we really needed to have a working toilet. Aaron started installing the downstairs toilet while I made another trip to Home Depot for a tank insulation kit*. I installed the tank insulation while Aaron went to borrow an angle grinder from his dad so he could cut the floor bolts on the downstairs toilet. Aaron started installing the upstairs toilet while I continued with the tank insulation.
Sadly, work on the upstairs toilet stopped when Aaron realized that the water supply connector was not long enough. (see how sad he looks?)
By that time I had finished the tank insulation, so we still had the downstairs bathroom. Until I read the last step on the instructions, which stated the glue used for the insulation had to dry for 5 hours.
And that is how, on the eve of our second wedding anniversary, we are going to bed without a properly working toilet.
* A toilet insulation kit, or toilet liner kit, is a styrofoam liner that prevents the toilet tank from "sweating".
June 22, 2012
before & after
Posted by
Megan
The most satisfying projects are the ones with dramatic before and after photos. Here are two that we've checked off our To Do list.
The first project was actually completed in March. When we moved in, the bannister was painted white, which really popped against the blue walls.
But after we painted the walls white, it was time to return the bannister to its natural state. Once again we found ourselves spending many hours stripping. Many, many hours stripping (and not the fun kind).
The second project is even more dramatic. And the best part is there was no work involved (for us). Here's how our house looked in the fall.
And here's how it looks now.
It's like a whole new house! (Which, by the time we've finished everything we want to do, it practically will be.)
The first project was actually completed in March. When we moved in, the bannister was painted white, which really popped against the blue walls.
the "before" photo |
first coat of stripper - February 27, 2012 |
second coat of stripper - February 28, 2012 |
the "after" photo (after a third coat of stripper) - March 18, 2012 |
The second project is even more dramatic. And the best part is there was no work involved (for us). Here's how our house looked in the fall.
And here's how it looks now.
March 21, 2012
les toilettes
Posted by
Megan
I was really hoping to write a post announcing that we had (finally!) completed one room of the house.
Alas, the course of home renovation never did run smooth.
Finishing touches on the dining room were usurped by toilet shopping. In order to maximize our ecoENERGY Retrofit grant, we needed to buy water-saving toilets to replace our lovely pink and green water-losing toilets. The receipt for the new toilets needed to match the date of our energy audit, which happened on Monday. This is how we ended up at Home Depot on Monday night, getting a crash course in toilets. Things to consider when purchasing a new toilet include the number of litres per flush, seat height, and MaP score. For the uninitiated, a toilet's MaP score is "the number of grams of solid waste that a particular toilet can flush and remove from the fixture in a single flush". (Imagine our conversation in the toilet aisle of Home Depot. Married life is so romantic.)
One additional thing to consider if your house is built before 1960, like ours, is the size of the trap. Or, as I like to call it, the hole in the floor underneath the toilet. Today the standard size of a trap is 12 inches, but pre-1960 there were three different sizes. If we didn't have a standard size trap it would mean a special order toilet, likely doubling the cost. A quick trip home confirmed that our toilet trap is the standard size (yay!), and we were able to buy our toilets.
Unfortunately we were not able to take them home with us, because two toilets do not fit into a Honda Civic. Which is how we ended up at Home Depot again on Tuesday night.
"You're not putting this on the blog, are you?" |
Luckily they fit into a Mazda 3, which we borrowed from my sister and brother-in-law (thanks guys!).
zoom zoom zoom |
Just when things were finally starting to look less like a construction zone and more like a home . . .
March 05, 2012
stripping for dummies
Posted by
Megan
This is how to strip the woodwork in your home, in 9 easy steps:
step 1
Remove all the baseboards and trim.
step 2
Arrange baseboards and trim in your garage. Apply stripper.
step 3
Scrape stripper off. Then repeat (up to three times if necessary). Sand off the stubborn bits (hooray for power tools!).
step 4
Arrange baseboards and trim in your garage. Apply stain (three coats is required).
step 5
Bring the baseboards into the house. Try to remember where they go.
Just kidding. I should have mentioned this in step 1 - as you remove all the baseboard and trim, write on the back of each piece what number it is, and create a corresponding map.
step 6
Attach baseboards and trim (more power tools!).
The photo above was taken the day before we hosted my extended family (dad's side) for dinner. Aaron was installing the last few pieces in the front hall about half an hour before our guests arrived. A note to all home renovators/procrastinators - inviting people over is the perfect incentive to get jobs done.
step 7
Stain the few random pieces that somehow got missed.
step 8
The photo above was taken a week before we hosted my extended family (mom's side). See? It's all about inviting people over.
step 9
If necessary, cut baseboards to fit (even more power tools). This particular piece had to be cut because we took out a built-in bookshelf and therefore needed a different size. It also happened to be in the spot where our Christmas tree was going to be, which was the incentive we needed to install it.
This was definitely the biggest job we've tackled so far. And it isn't even one we realized we would have to do until after we moved in. It turns out that on closer inspection, every single piece of baseboard and trim in our house had a smidge of robin egg blue paint.
The end result is so worth it. We now have gleaming baseboards and trim to match our floors.
Of course, now we have to do it all again for the quarter round . . .
step 1
Remove all the baseboards and trim.
May 6, 2011 |
Arrange baseboards and trim in your garage. Apply stripper.
August 27, 2011 |
Scrape stripper off. Then repeat (up to three times if necessary). Sand off the stubborn bits (hooray for power tools!).
September 18, 2011 |
Arrange baseboards and trim in your garage. Apply stain (three coats is required).
October 10, 2011 |
Bring the baseboards into the house. Try to remember where they go.
November 8, 2011 |
step 6
Attach baseboards and trim (more power tools!).
November 19, 2011 |
step 7
Stain the few random pieces that somehow got missed.
November 20, 2011 |
Attach baseboards and trim on the upper level. (In case you haven't figured it out from the timeline provided, we're not exactly the speediest renovators.)
December 10, 2011 |
step 9
If necessary, cut baseboards to fit (even more power tools). This particular piece had to be cut because we took out a built-in bookshelf and therefore needed a different size. It also happened to be in the spot where our Christmas tree was going to be, which was the incentive we needed to install it.
December 18, 2011 |
The end result is so worth it. We now have gleaming baseboards and trim to match our floors.
Of course, now we have to do it all again for the quarter round . . .
February 09, 2012
project 760 - day 366
Posted by
Megan
This was the scene in our living room one year ago . . .
February 9, 2011 |
And here was the scene earlier today. . .
Feburary 9, 2012 |
Our moms are probably reading this, so at this point it is important to mention that whenever we are performing electrical work we turn off the power to that part of the house, and double check with Aaron's electricty tester thingamajig (yes, that is the technical term for it). Also, the pink wall patch fades to white as it dries. (Hi Moms!)
All this project completing is not without cost. This was our third trip to the hardware store on Saturday.
Subscribe to:
Posts (Atom)